Updated on 24 May 2020
Find the code and add comments on the gist.
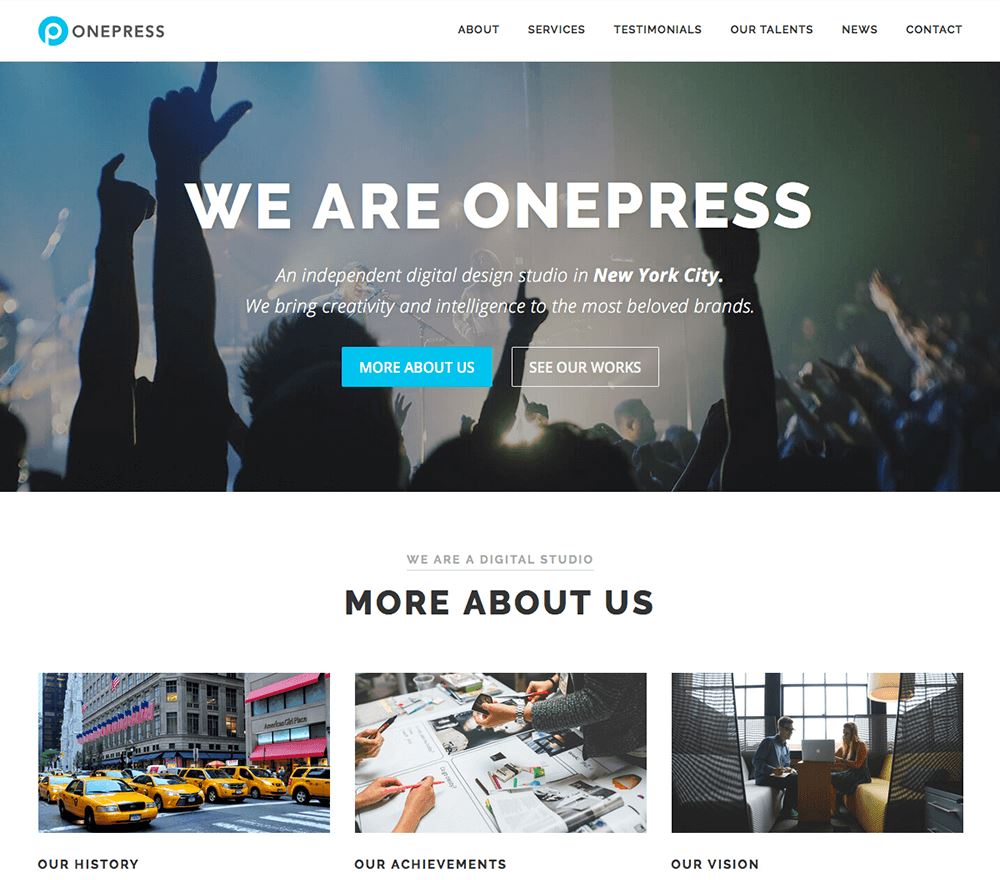
OnePress is a one-page theme for WordPress. The guys at FameThemes did a great job with the OnePress Theme as it’s one of the best one-page themes I’ve found.
It does not come with a menu in the footer.
A menu in the footer could be useful to show pages like privacy or cookies policy, impressum, FAQs, and other secondary pages.
In this article I will show you how to add a simple menu in the footer of OnePress WordPress Theme, using a child theme.
If you don’t have already a child theme for your OnePress theme, you will need to create one now. For those who never used a child theme, you could read my other article about how to change the Copyright in the footer, where I give some hints and show where to look for to install a child theme for OnePress.
TLTR; You could skip directly to the Summing up section at the end. Or have a look at the code in the gist.
OnePress Plus Theme
I really suggest buying the OnePress Plus Theme as it has many functionalities you or your clients would love to have.

Adding a menu
OnePress has only one menu defined as Primary Navigation, so we need to add another menu definition such as Secondary Navigation, and then define where and how to show this second menu.
Adding another menu definition is easy, we just add at the end of the file functions.php of the child theme this code:
function wp_custom_new_menu() {
    // Add two menus: this theme uses wp_nav_menu() in two locations.
    register_nav_menus( array(
      'primary' => __( 'Primary Navigation', 'onepress-child' ),
      'secondary' => __('Secondary Navigation', 'onepress-child')
    ) );
}
add_action( 'init', 'wp_custom_new_menu' );
Note: if you have renamed your text domain’s child theme, replace onepress-child with your text domain’s child theme (look for Text Domain in the header of your style.css file).
We want to show the second menu in the footer, so as explained already in the article on how to change the Copyright in the footer, we need to overwrite the function which does the job of rendering the footer on the page each time.
Therefore, we need to add at the end of the file functions.php of the child theme the definition of this function, which has already the code to render the second menu in between the comments shows our custom menu:
// Customize the footer area (show also the secondary menu)
if ( ! function_exists( 'onepress_footer_site_info' ) ) {
/**
* Add Copyright and Credit text to footer
* @since 1.1.3
*/
function onepress_footer_site_info()
{
?>
<!-- shows our custom menu -->
<?php if( has_nav_menu( 'secondary', 'onepress-child' ) ) {
    ?> <div class="footer-menu-container"> <?php
    wp_nav_menu( array( 'theme_location' => 'secondary' ) );
    ?> </div> <?php
} ?>
<!-- end: shows our custom menu -->
<?php printf(esc_html__('Copyright %1$s %2$s %3$s', 'onepress'), '©', esc_attr(date('Y')), esc_attr(get_bloginfo())); ?>
<span class="sep"> – </span>
<?php printf(esc_html__('%1$s theme by %2$s', 'onepress'), '<a href="' . esc_url('https://www.famethemes.com/themes/onepress', 'onepress') . '">OnePress</a>', 'FameThemes'); ?>
<?php
}
}
Note: if you have renamed your text domain’s child theme, replace onepress-child with your text domain’s child theme (look for Text Domain in the header of your style.css file).
Note: if you already changed the Copyright, then you must update that part too, or simply copy and paste this code into your onepress_footer_site_info() function definition:
<!-- shows our custom menu -->
<?php if( has_nav_menu( 'secondary', 'onepress-child' ) ) {
?> <div class="footer-menu-container"> <?php
wp_nav_menu( array( 'theme_location' => 'secondary' ) );
?> </div> <?php
} ?>
<!-- end: shows our custom menu -->
Styling the menu with CSS
The second menu will be rendered by the standard function wp_nav_menu( ... ); so its output, enclosed in the class footer-menu-container, must be styled to be shown inline, and with a proper separator.
For this reason, we add the following code at the end of the file style.css of the child theme:
.footer-menu-container { display: block; width:100%; margin-bottom: 12px; }
.footer-menu-container ul { display: inline; padding-left: 0px; }
.footer-menu-container li { list-style-type: none; display: inline; }

.footer-menu-container li:before {
	content: "\007C";
	font-family: FontAwesome;
    margin-left: 6px;
	margin-right: 8px;
}

.footer-menu-container li:first-of-type:before {
	content: none;
	margin-right: 0;
}

.footer-menu-container li:last-of-type {
	margin-right: 0;
}
WordPress Dashboard
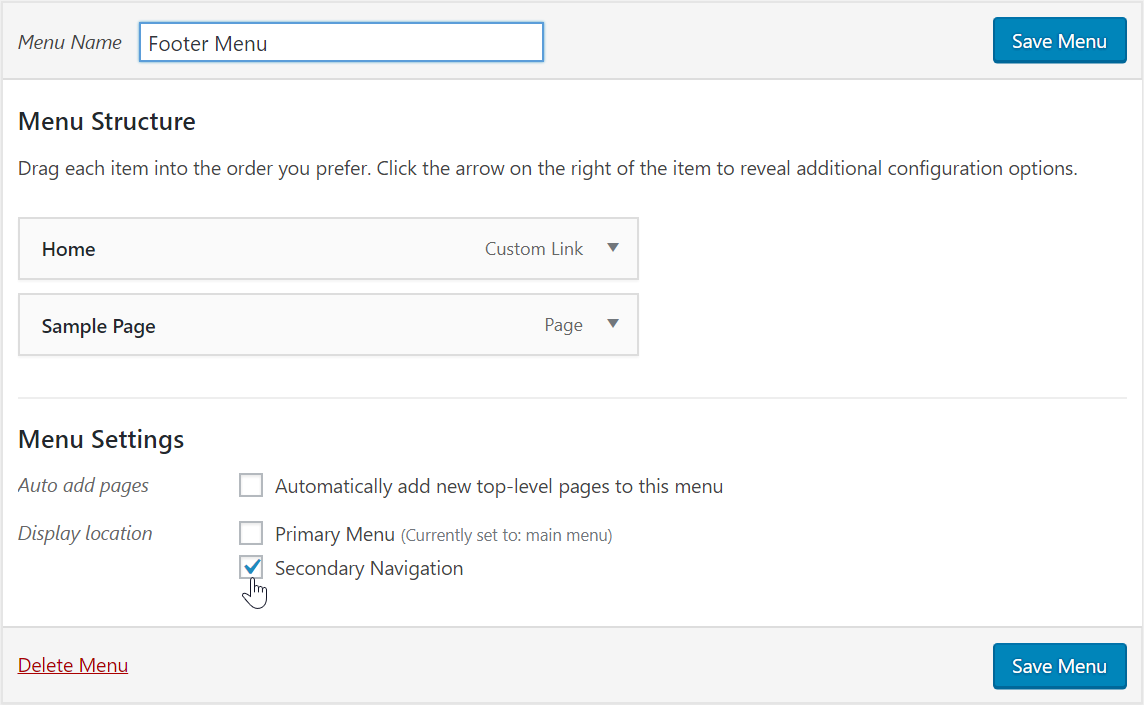
Go back to the WordPress Dashboard, create a menu named say ‘Footer Menu’ with a few items, and place it in the ‘Secondary Navigation’.

You should be able to see a menu in the footer similar to this one:

TLTR - Summing up
To summarize in a few steps:
- Create a child theme for your OnePress Theme
-
Add this code at the end of the file
functions.phpof your child theme:function wp_custom_new_menu() { // Add two menus: this theme uses wp_nav_menu() in two locations. register_nav_menus( array( 'primary' => __( 'Primary Navigation', 'onepress-child' ), 'secondary' => __('Secondary Navigation', 'onepress-child') ) ); } add_action( 'init', 'wp_custom_new_menu' ); // Customize the footer area (show also the secondary menu) if ( ! function_exists( 'onepress_footer_site_info' ) ) { /** * Add Copyright and Credit text to footer * @since 1.1.3 */ function onepress_footer_site_info() { ?> <!-- shows our custom menu --> <?php if( has_nav_menu( 'secondary', 'onepress-child' ) ) { ?> <div class="footer-menu-container"> <?php wp_nav_menu( array( 'theme_location' => 'secondary' ) ); ?> </div> <?php } ?> <!-- end: shows our custom menu --> <?php printf(esc_html__('Copyright %1$s %2$s %3$s', 'onepress'), '©', esc_attr(date('Y')), esc_attr(get_bloginfo())); ?> <span class="sep"> – </span> <?php printf(esc_html__('%1$s theme by %2$s', 'onepress'), '<a href="' . esc_url('https://www.famethemes.com/themes/onepress', 'onepress') . '">OnePress</a>', 'FameThemes'); ?> <?php } } -
Replace
onepress-childwith your theme slug, if you have renamed your child theme. -
Add the styling using CSS: append this code in your
style.csschild theme:.footer-menu-container { display: block; width:100%; margin-bottom: 12px; } .footer-menu-container ul { display: inline; padding-left: 0px; } .footer-menu-container li { list-style-type: none; display: inline; } .footer-menu-container li:before { content: "\007C"; font-family: FontAwesome; margin-left: 6px; margin-right: 8px; } .footer-menu-container li:first-of-type:before { content: none; margin-right: 0; } .footer-menu-container li:last-of-type { margin-right: 0; } - Done. Go back to the WordPress Dashboard, create a menu named say ‘Footer Menu’ and place it in the ‘Secondary Navigation’.
You can find the whole code, and you can add comments on the gist.
If this article was useful to you, please share it using your favorite way for doing it! If you have suggestions of improvement or you’ve found something wrong, please let me know!
